
In this blog post I will detail how to use vConverter to migrate a Windows VM to Nutanix AHV in a 1-step data migration process. Note that this migration path is much more complex than a previous blog post about using HYCU Data Protection to perform this migration.
Prerequisites:
Download and install the Nutanix VirtIO drivers on the Physical windows machine (IF YOU DO NOT DO THIS THE WINDOWS VM WILL NOT BOOT ON AHV, WE NEED THE VIRTUAL DRIVERS)vConverter is installed and running on the Physical machine
Step One: Add Nutanix Container to ESXi VM
1). Login to Prism and go to Storage. Select your storage container you will use for the migration and click Update

3). Click Advanced Settings and scroll down to the Whitelist section. Add your ESXi VMs IP address.

4). Now go back to the ESXi VMs GUI and go to Storage and click New Datastore

5). Next select Mount NFS Datastore and click Next

6). Add the following details
- Name
- NFS Server=<Virtual IP of Nutanix Cluster>
- NFS Share=/<Container Name>

7). Confirm the summary and click Finish


Step Two: Convert your Physical Machine
1). Open up vConverter and click Convert Machine

2). Assuming vConverter was installed locally select This local machine

3). Destination type is VMware Virtual Infrastructure Machine. Enter the following fields.
- Server=<IP of ESXi VM>
- Username
- Password
Click Next

4). Ignore the Converter Security Warning

5). Provide a VM Name. Click Next

6). IMPORTANT – Make sure you select the NFS datastore coming off of the Target Nutanix cluster where the AHV VM will reside. Click Next

7). Confirm the conversion settings. MAKE SURE VMTOOLS IS NOT SET FOR INSTALL. Click Next

8). Confirm the conversion Summary and click Finish

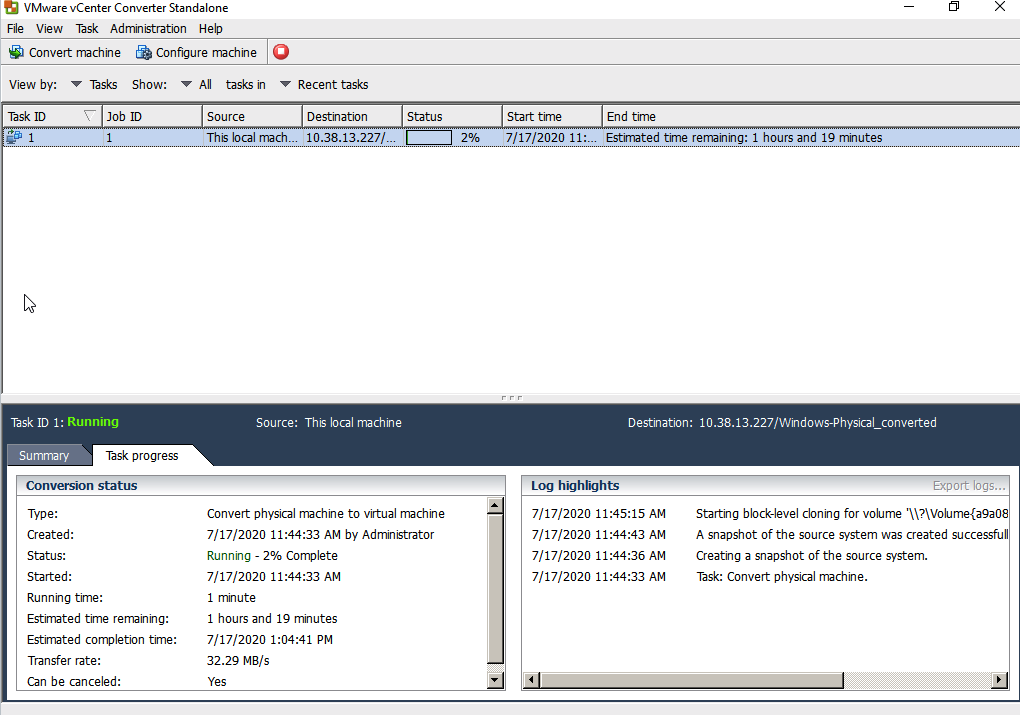
9). Watch out for errors and allow the conversion job to complete. Depending on the size of the disks on the physical server this could take quite some time.
Step Three: Create AHV VM from Converted VMDK
1). Once the physical machine is converted. Login to Prism and go to Settings –> Image Configuration

2). Click +Upload Image
Supply the following
NameImage Type=DISKStorage Container=<pick your storage container>from URL= nfs://127.0.0.1/<ESXi NFS datastore>/<VM_folder>/<VM_name.vmdk

3). With your image now uploaded go back to the VM page and click + Create VM
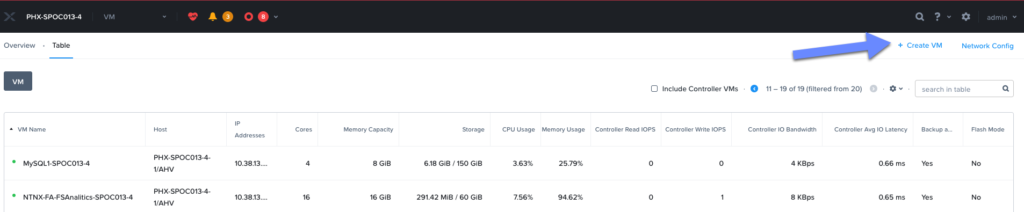
4). At this point the hope is that there has been some analysis done on the physical server historical utilization for CPU and Memory. Typically a physical server is not using much of the resources it is provisioned. Secondly the new Nutanix infrastructure is likely a much newer generation of server with more powerful CPUs (validate this prior to purchase!!). Once you have a plan for the VM sizing after conversion properly documented you can build the VM.
Supply the following
- Name
- VCPU
- Memory
- Disks
- Click + Add New Disk
- Type=DISK
- Operation=Clone from Image Service
- Bus Type=SCSI
- Image=<image added in previous step>
- Index=Next Available
- Continue adding disks if there were more drive letters on the physical server

- Network
- Click + Add New NIC
- Choose your network and click Add
- Click + Add New NIC
Once the VM Create fields are all properly filled in click Save

5). Now Power on your VM and verify it boots properly and your Done!
